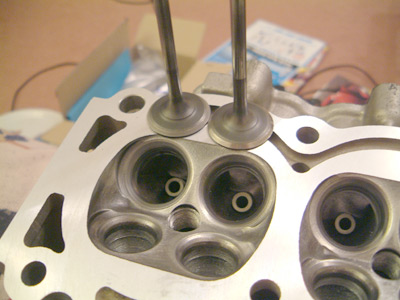
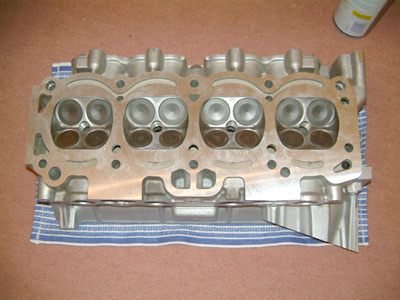
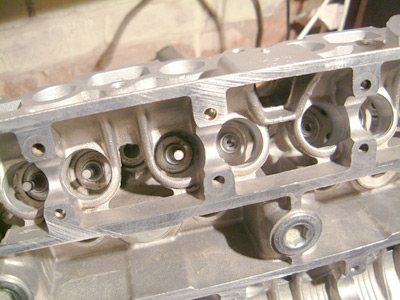
Intake valves, the one on the left has been lapped in.

Apply some WD-40 to the valve stem to lubricate it as you lap-in the
valve.
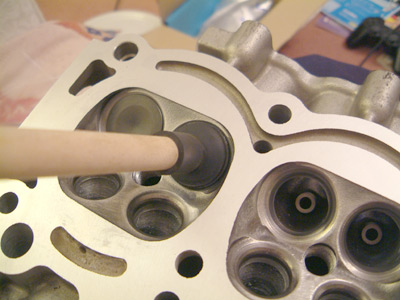
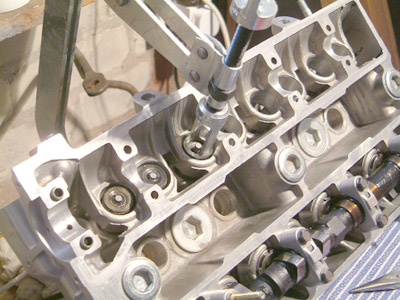
Use the sucker tool to spin the valve, it takes a while! Doing this cleans
the valve and the valve seat. This is especially important for the exhaust
valves which get hotter gasses and are usually in worse condition.
Only 6 more intake to do then it's onto the exhaust!
OK, all the valves lapped in. Next install the oil seals.
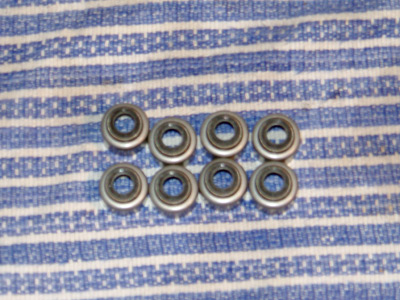
Exhaust first, 8 new oil seals ready to be installed.
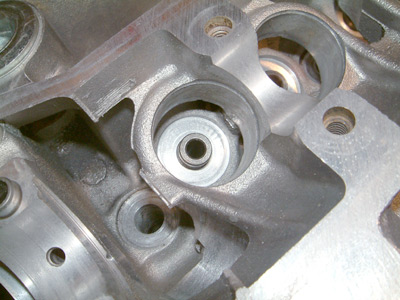
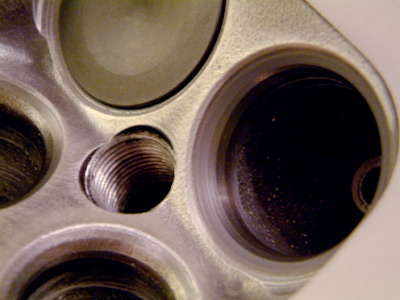
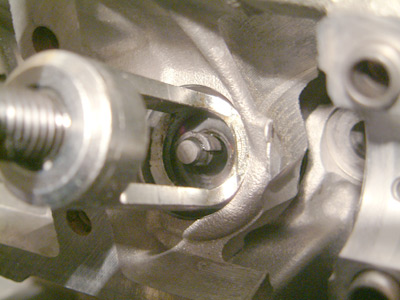
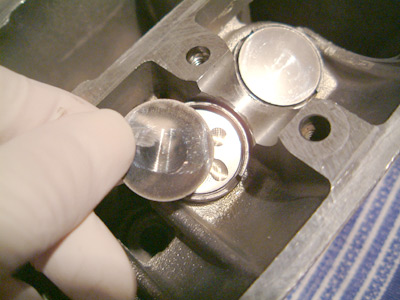
Here you can see the top of the valve guide, the oil seals click on top of
these.
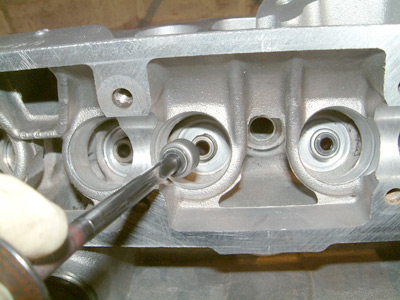
Best way i found to install them was to pop them onto a valve and use that
as a guide to attach them to the top of the guide.
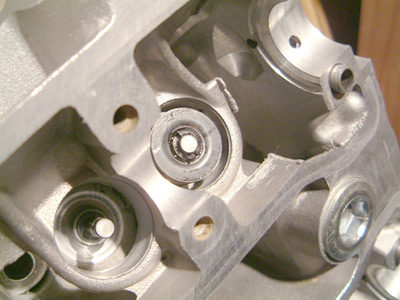
All the oil seals in, now oil the valves and push them into place.
Next step is to reinstall the valve springs, first install the shims at the
valve base, install the valve with the narrow windings on the bottom. To secure the spring you need
to reinstall the two collets, if you oil the collets they do tend to stick
to the valve stem which can help keeping them in place when you release the
valve spring compressor.
First one done, only 8 more to do!
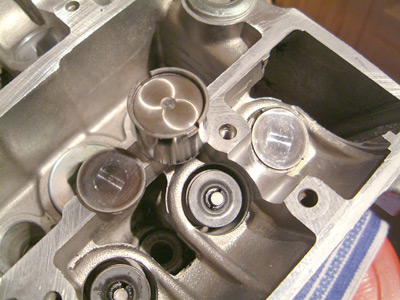
With all the valve springs in place, next step is to install the buckets and
shims.
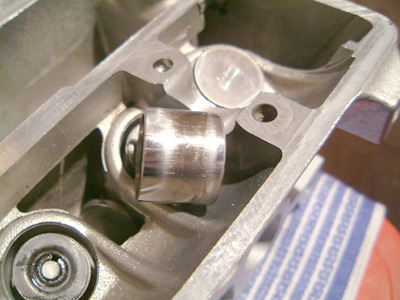
Apply some new engine oil around the bucket.

And to the face.
Then place the shim into the bucket, when done make sure the bucket and the
shim can rotate freely.

All 8 exhaust done.
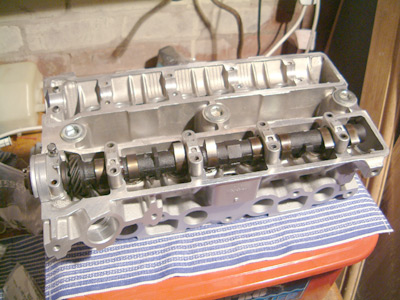
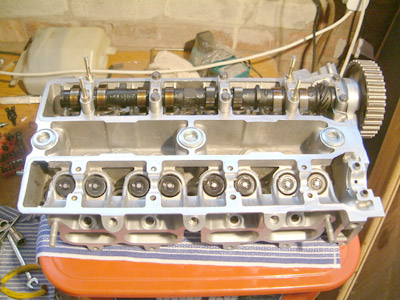
Install the exhaust cam, and we're ready to check the shim clearances.
Normally you would do this after the head has been installed onto the block,
but for ease of doing it i will install the cams to check the clearances and
then remove them to install the head onto the block.
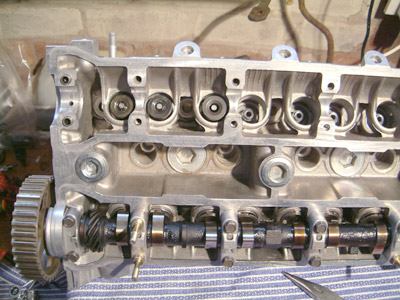
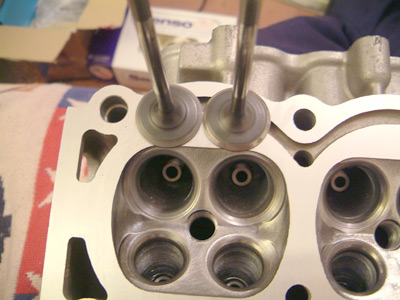
Intake side next, here i am installing the valves.
Compress the valve spring with a spring compressor.
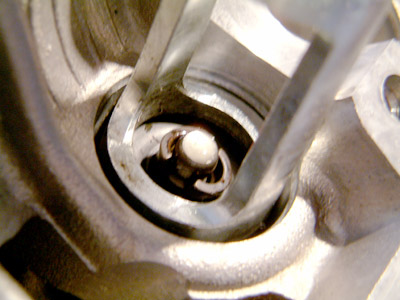
Those pesky keepers!
Eventually...
|
